[ad_1]
WOUND CARE – Definition, Types, Wound Healing, Wound Dressing, Equipment and Procedure

UPDATED 2024
A wound is a
break in the continuity of an external or internal surface caused by physical
means. Wounds can be accidental or intentional (as when the physician makes an
incision during a surgical operation). There are two basic types of wounds:
closed and open.

DEFINITION
Wound care:
wound care is defined as cleaning, monitoring and promoting healing in a wound
that is closed with sutures, clips or staples.

Wound: an
injury to living tissue caused by a cut, blow, or other impact, typically one
in which the skin is cut or broken
Surgical or
wound dressing: sterile dressing covering applied to a wound or incision using
aseptic technique with or without medication.
WOUND TYPES
A closed
wound involves an injury to the underlying tissues of the body without a break
in the skin surface or mucous membrane; an example is a contusion, or bruise.
A contusion
results when the tissues under the skin are injured and is often caused by a
blunt object. Blood vessels rupture, allowing blood to seep into the tissues,
which results in a bluish discoloration of the skin. After several days, the
color of the contusion turns greenish yellow as a result of oxidation of blood
pigments
Bruising
commonly occurs with injuries such as fractures, sprains, strains and black
eyes. Open wounds involve a break in the skin surface or mucous membrane that
exposes the underlying tissues; examples include incisions, lacerations,
punctures, and abrasions.
An incision
is a clean, smooth cut caused by a sharp instrument, such as a knife, razor, or
piece of glass. Deep incisions are accompanied by profuse bleeding; in
addition, damage to muscles, tendons, and nerves may occur.
A laceration
is a wound in which the tissues are torn apart, rather than cut, leaving ragged
and irregular edges. Lacerations are caused by dull knives, large objects that
have been driven into the skin, and heavy machinery. Deep lacerations result in
profuse bleeding and a scar often results from the jagged tearing of the
tissues.
A puncture
is a wound made by a sharp-pointed object piercing the skin layers, for
example, a nail, splinter, needle, wire, knife, bullet, or animal bite. A
puncture wound has a very small external skin opening, and for this reason
bleeding is usually minor. A tetanus booster may be administered with this type
of wound because the tetanus bacteria growth best in a warm anaerobic
environment, such as the one in a puncture.
An abrasion
or scrape is a wound in which the outer layers of the skin are scraped or
rubbed off, resulting in oozing of blood from ruptured capillaries. Abrasions
are often caused by falling on gravel and floors (floor burn). These falls can
result in skinned knees and elbows.
WOUND HEALING
The skin is
a protective barrier for the body and is considered its first line of defense.
When the surface of the skin has been broken, it is easy for microorganisms to
enter and cause infection. The body has a natural healing process that works to
destroy invading microorganisms and to restore the structure and function of
damaged tissues.
Phases of
Wound Healing
Phase 1:
Phase 1, is also called the inflammatory phase, begins as soon as the body is
injured. This phase lasts approximately 3 to 4 days. During this phase, a
fibrin network forms, resulting in a blood clot that “plugs” up the opening of
the wound and stops the flow of blood.
The blood
clot eventually becomes the scab. The inflammatory process also occurs during
this phase. Inflammation is the protective response of the body to trauma, such
as cuts and abrasions, and to the entrance of foreign matter, such as
microorganisms. During inflammation, the blood supply to the wound increases,
which brings white blood cells and nutrients to the site to assist in the
healing process.
The four
local signs of inflammation are redness, swelling, pain and warmth. The purpose
of inflammation is to destroy invading microorganisms and to remove damaged
tissue debris from the area so that proper healing can occur.
Phase 2:
Phase 2 is also called the granulation phase and typically last 4 to 20 days.
During this phase, fibroblasts migrate to the wound and begin to synthesize
collagen. Collagen is a white protein that provides strength to the wound. As
the amount of collagen increases, the wound becomes stronger, and the chance
that the wound will open decreases. There also is a growth of new capillaries
during this phase to provide the damaged tissue with an abundant supply of
blood. As the capillary network develops, the tissue becomes a translucent red
color. This tissue is known as granulation tissue. Granulation tissue consists
primarily of collagen and is fragile and shiny and bleeds easily.
Phase 3:
Phase 3, is also known as the maturation phase, begins as soon as granulation
tissue forms and can last for 2 years. During this phase, collagen continues to
be synthesized, and the granulation tissue eventually hardens to white scar
tissue. Scar tissue is not true skin and does not contain nerves or have a
blood supply. The medical assistant should always inspect the wound when
providing wound care. The wound should be observed for signs of inflammation
and the amount of healing that has occurred. This information should be charted
in the patient’s record.
WOUND DRESSING
Purpose of
Dressing
- Provide physical, psychological and
aesthetic comfort - Remove necrotic tissue
- Prevent, eliminate or control
infection - Absorb drainage
- Maintain a moist wound environment
- Protect the wound from further injury
- Protect the skin surrounding the
wound - Promote homeostasis as in a pressure
dressing - Prevent contamination from feces,
urine, vomitus, etc - For splinting or immobilization of
wound
Major
Principles for Wound Dressing
- Uses standard precautions at all
times - When using a swab or gauze to cleanse
a wound, work from the clean area out toward the dirtier area. (Example: when
cleaning a surgical incision, start over the incision line, and swab downward
from top to bottom). Change the swab and proceed again on either side of the
incision, using a new swab each time. - When irrigating a wound, warm the
solution to room temperature, preferably to body temperature, to prevent
lowering of the tissue temperature. Be sure to allow the irrigant to flow from
the cleanest area to the contaminated area to avoid spreading pathogens.
TYPES OF DRESSING
- Dry dressing: clean wounds are
dressed by the application of 4 to 8 layers of gauze folded into suitable size
and shape. The surrounding of the wound is cleansed by some antiseptic and
dried and dry dressing is applied after the application of medicine to the
wound. - Wet dressings: it is used if wounds
are infected and if there is pus. The wet dressing compresses the hot, it
stimulated the supportive process. The dressing is made of many layers of gauze
or cotton pad covered with gauze. - Pressure dressing: it is done when
there is bleeding or oozing from the wound. The dressing consists thick pad of
sterile gauze applied over the wound with a firm bandage and binder
General
Instructions
- Maintain aseptic technique to prevent
cross infection to the wound and to the ward - All the material touching the wound
should be sterile - Wash hands before and after each
dressing top avoid cross infection - All articles should be disinfected
thoroughly, so that they will be free from pathogens - Use masks, sterile gloves and gown
for large dressing to minimize the wound contamination - Dressing is changed at least 15
minutes after the room has been cleaned and avoid meal timings - Clean wound should be dressed before
infected or discharging wounds - Wounds that are draining freely
should be dressed frequently, according to the doctor’s order - Avoid coughing, sneezing and talking
when the wound is opened - While dressing avoid contamination
with patients skin. Clothing and bed linen with soiled instruments and
dressings - Clean the wound from cleanest area to
the less clean area, e.g. clean the wound from its center to the periphery - If the dressings are adherent to the
wound due to drying of the secretions or blood, wet it with normal saline before
it is removed from the wound - While dressing, keep the wound edges
as near as possible to promote healing - Measure the amount of discharge from
the wound. Note the color, amount and consistency of the drainage - Before doing the dressing, inspect
the wound for any complication and if it is present, report immediately to
avoid further complications
PRELIMINARY ASSESSMENT
- Check the doctor’s order for specific
instructions - Identify the correct patient, bed
number and general condition - Check the nurse’s record to note the
condition of the wound in previous dressing - Check the abilities of the patient
for self-help understanding and limitation - Check the availabilities of the
articles
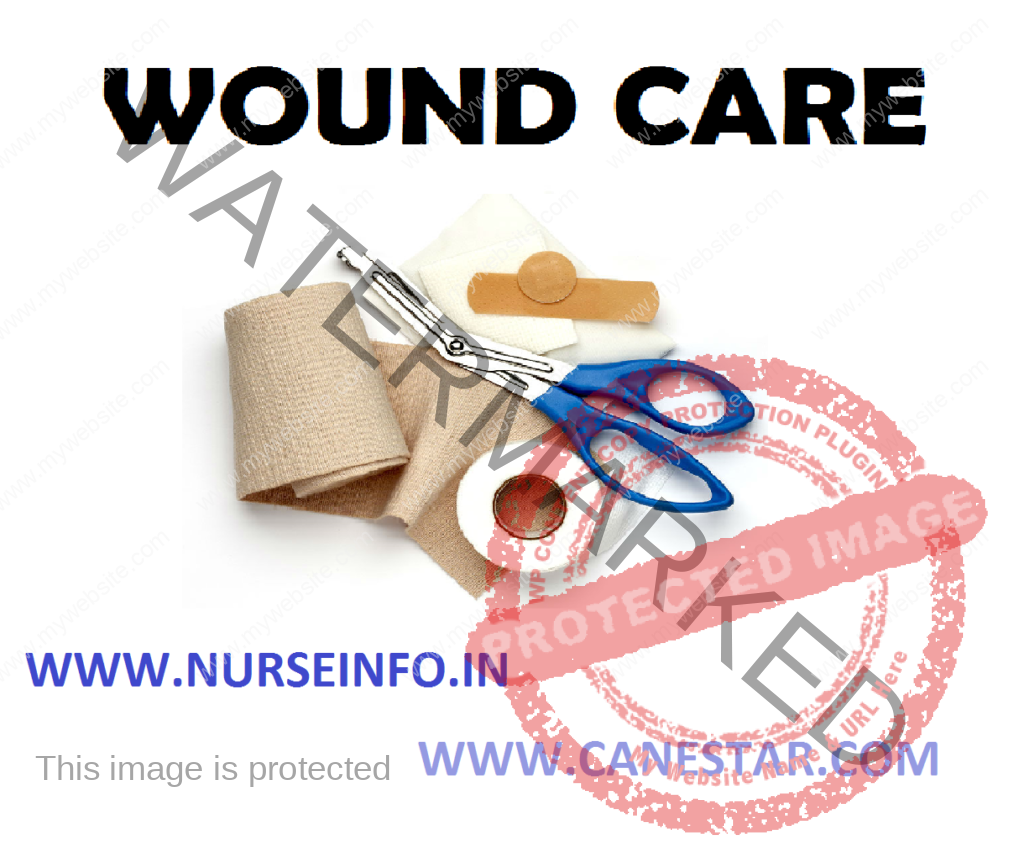
EQUIPMENT
A sterile
tray containing:
- Artery forceps: 1
- Dissecting forceps: 2
- Scissors: 1
- Sinus forceps: 1
- Probe: 1
- Small bowl: 1
- Safety pin: 1
Gloves,
masks and gowns, cotton balls, gauze pieces, cotton pads, and site or dressing
towels.
A trolley
containing: cleaning solutions as necessary, ointments and powders as ordered,
Vaseline gauze in sterile containers, roller gauze in sterile container,
chittle forceps in a solution, sterile gauze, cotton and pad drum, bandages,
adhesive plaster, pins and scissors, mackintosh and draw sheet, kidney tray and
covered bucket to put soiled dressing.
PROCEDURE
- Explain the procedure to the patient,
using sensory preparation - Inspect the wound for redness,
swelling or signs of dehiscence or evisceration - Observe the characteristics of any
drainage - Clean the area around the wound with
an appropriate cleansing solution - Swab from clean area towards the less
clean area (clean the wound from the center to periphery) - Apply medications if ordered
- Apply sterile dressing – apply gauze
pieces first and then the cotton pads - Remove the gloves and discard it into
the bowel with lotion - Secure the dressing with bandage or
adhesive tapes
DRESSING TECHNIQUES
The
following dressing techniques are easy to do and require on sophisticated
equipment. Clean technique is usually sufficient. Pain medication may be
required as dressing changes can be painful. Gently cleanse the wound at the time
of dressing change
Wet-to-Dry
Indication:
to clean a dirty or infected wound
Technique:
moisten a piece of gauze with solution and squeeze out the excess fluid. The
gauze should be damp, not soaking wet. Open the gauze and place it over top of
the wound to cover. You do not need many layers of wet gauze. Place a dry
dressing over top. The dressing is allowed to dry out and when it is removed it
pulls off the debris. It’s ok to moisten the dressing if it is too stuck.
How often:
ideally, 3-4 times per day, more often on a wound in need of debridement, less
often on a cleaner wound. When the wound is clean, change to a wet-to-wet
dressing or an antibiotic ointment
Wet-to-Wet
Indication:
to keep a wound clean and prevent buildup of exudates
Technique:
moisten a piece of gauze with solution and just barely squeeze out the excess fluid
so it is not soaking wet. Open the gauze and place it over top of the wound to
cover it. Place a dry dressing over top. The gauze should not be allowed to dry
or stick to the wound
How often:
ideally, 2-3 times a day. If the dressing gets too dry, pour saline over the
gauze to keep it moist
Antibiotic
ointment: antibiotic ointment is used to keep a wound clean and promote healing
Technique:
apply ointment to the wound – not a thick layer; just a thin layer is enough.
Cover with dry gauze
How often: 1-2
times per day
PROCEDURE OF WOUND/SURGICAL DRESSING
- Position the patient comfortably
- Expose the dressing site
- Instruct not to touch wound,
equipment or dressing - Wash hands
- Open dressing pack
- Transfer extra cotton balls and gauze
pieces into the dressing pack if the wound is large - Pour cleaning solution into the
dressing cup - Cover the pack without contaminating
the inner layer - Place dressing mackintosh and towel
under the part and place clean K-basin over mackintosh - Remove outer dressing
- Use ether to remove adherent adhesive
- Leave the inner dressing if it does
not come out with outer dressing - If wound drain is present, remove one
layer at a time - Do surgical hand washing
- Wear gloves if the wound is
contaminated - Flip open the dressing pack cover by
inserting fingers in the inner layer of the wrapper - Using thumb forceps, pick up cotton
ball and wet it in saline - Using artery clamp and thumb forceps,
soak adherent gauze squeezing the cotton ball over the gauze - Using the same artery clamp, remove
the gauze and dispose in the plastic bag - Discard the artery clamp
- Observe the character and amount of
drain and assess the condition of the wound - Use only thumb forceps to pick up
cotton balls - Pick up cotton balls every time using
only the thumb forceps and soak in cleaning solution - Squeeze out excess solution from the
cotton balls into the kidney basin (sterile) - Clean the wound (clean to dirty) with
firm stroke using the artery clamp - Discard used cotton balls into the
clean K-basin - Use only one cotton ball for each
stroke - Ensure wound is thoroughly cleaned
- Finally, clean the skin is proximity
to the wound edge, with strokes away from the wound - Soak gauze piece in the dressing
solution, squeeze out excess solution, spread it keeping it over the sterile
field - Apply over the wound, fully covering
the wound with medicated gauze pieces - Apply dry gauze pieces over the
medicated gauze pieces - Apply pad if the wound is large or
lot of exudates is present in the wound - Discard gloves if used
- Discard the used artery clamp and
thumb forceps into the clean K-basin - Secure dressing with adhesive/bandage
After Care
- Assist the patient to dress up and to
take a comfortable position - Change the garments if soiled with
drainage - Remove the mackintosh and towel.
Replace the bed linen - Take all articles to the utility
room. Discard the soiled dressing into a covered container and send for
incineration - Wash hands and record the procedure
on the nurse’s record with date and time - Teach the patient/family about wound
care and signs and symptoms of infection
PATIENT EDUCATION
Explain the
following to the patient regarding wounds:
- The type of wound that the patient
has: incision, laceration, puncture, or abrasion - The purpose of suturing the wound: to
close the skin and protect against further contamination, to facilitate
healing, and to leave a smaller scar - If a tetanus toxoid has been
administered, explain the purpose of this immunization: to protect against
tetanus (lockjaw) - Teach the patient how to care for the
wound, as follows:
Keep the dressing clean and dry. If it becomes wet, contact the medical
office to schedule a sterile dressing change
Apply an ice bag for swelling (if prescribed by the physician)
Report immediately any signs that the wound is infected. These signs
include the following:
Fever
Persistent or increased pain, swelling or drainage
Red streaks radiating away from the wound
Increased redness or warmth
- Notify the doctor’s office if the
sutures become loose or break - Return as instructed by the physician
for the removal of sutures - Teach the patient how to apply an ice
bag (if prescribed by the physician)
NURSING PROCEDURES LIST CLICK HERE
NURSING IMPORTANT QUESTIONS – CLICK HERE
[ad_2]
Source link
Discover more from Bibliobazar Digi Books
Subscribe to get the latest posts sent to your email.