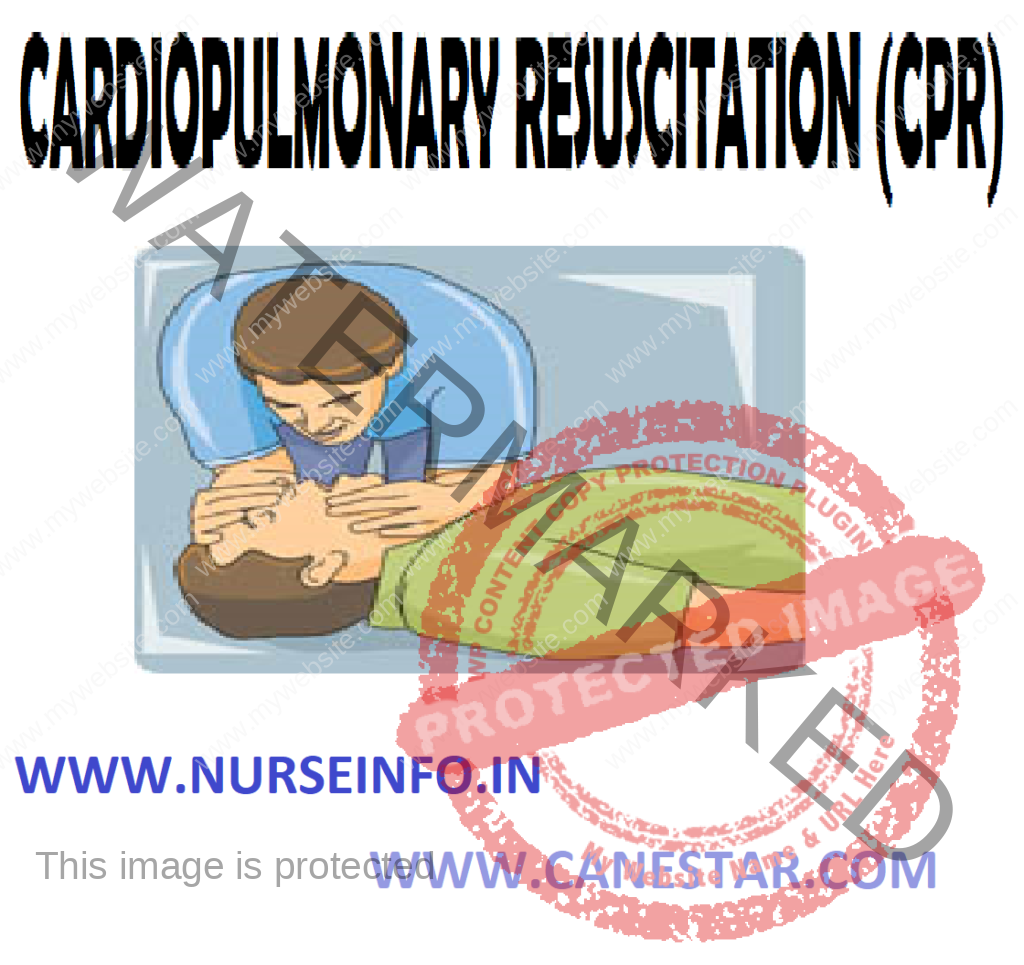
CARDIOPULMONARY RESUSCITATION (CPR) (Definition, Purpose, Equipment, General Instructions, Procedure, Method, Do’s and don’ts in CPR and Complications.

UPDATED 2024
Cardiopulmonary
resuscitation is a lifesaving technique useful in many emergencies, including
heart attack or near drowning, in which someone’s breathing or heartbeat has
stopped. The American Heart Association recommends that everyone – untrained
bystanders and medical personnel alike – begin CPR with chest compressions.

Resuscitation
includes all measures that are applied to revive patients who have stopped
breathing suddenly and unexpectedly due to either respiratory or cardiac
failure.
Cardiac
arrest is one of the common causes for cardio-respiratory failure. When a
person stops breathing spontaneously, his heart also stops beating. Clinical
death occurs within 4-6 minutes, the cells of the brain which is sensitivity to
the paucity of oxygen begin to deteriorate. If the oxygen supply is not
restored, the patient suffers irreversible brain damage and biological death
occurs.

DEFINTION
Artificial
ventilation accompanied by cardiac massage to facilitate normal breathing and
heart action in the event of cardiac arrest.
PURPOSE
To
re-establish effective ventilation and circulation
EQUIPMENT
- Cardiac board
- Suction apparatus
- Oxygen supply
- Box containing Ambu bag
- Sterile endotracheal tube (2.5 – 5.5
mm) - Extra-batteries
- Laryngoscope with 0, 1, 2 size tongue
blades and stillet, Magill forceps, adhesive scissors, airway syringes 1, 2, 5,
10 cc - Intracardiac needle 20 G, 22 G, 6-8
cm length - Needles 23 G and 20 G
- Elastoplasts bandage
- Ventilation given with ambu-bag
GENERAL INSTRUCTIONS
- Identify “RED FLAG” signs of
critically ill child-changes in level of consciousness, flaccid posturing,
cyanosis severe chest retractions, grunting respiration, increased respiratory
rate, shallow respiration, see saw respiration, i.e. abdominal protrusion with
inhalation, irregular respirations with periodic deep sighs, apneas, absent
pulse, absent heart rate, absent carotid pulse, dilated pupils, unrecordable
blood pressure, cold clammy skin - ACT quickly! As child can go into
cerebral hypoxia within 3 to 4 minutes which will lead to permanent brain
damage - Assess child (look, listen, feel) and
if not breathing call for help - Immediately start cardiopulmonary
resuscitation (CPR) - Equipment for CPR to be always
accessible and is functioning condition - All CPR equipment to be checked at
beginning of each shift - All staff to be skillful at CPR
PROCEDURE
- Airway: establish patient airway by suctioning oropharynx with catheter, and deflate stomach by aspirating stomach contents
Ventilation by mouth to mouth:
- Breathing: establish breathing by
artificial ventilation
Place
Ambu bag on mouth and nose, and connect to 100% oxygen. Select ET tube
using the formula:
Age in years + 4 /4
Calculate size of ET tube approximately as diameter of child’s little finger.
The ET tube is inserted
- Circulation: initiate cardiac
compression to a distance calculated using the formula (ET size multiply 3 cm)
METHOD
Serial
rhythmic compressions of chest that help circulate oxygen containing blood to
vital organs
Infant
- Site: sternum compression – below
level of infant’s nipples - Width one finger breadth
- Depth 0.5 – 1 inch
- Rate 100 times per minute
Child
- Site: lower margin of child’s rib
cage to notch where ribs and sternum meet - Avoid compression over notch
- Place heel of nurse’s hand over lower
half of sternum (between nipple line and notch) - Depth: 1-1.5 inches
- Rate: 100 times per minute
Ratio of Cardiac Compression to Ventilation (CPR)
- 2 persons – 5:1
- 1 person – 15:2
One Rescuer CPR
Shake
shoulders and ask “are you okay”, shout for help. Open the airway: the most
important action for successful resuscitation is immediate opening of the
airway. Tilt the head by applying firm backward pressure on the victim’s
forehead with palm of one hand. Place two or three fingers of the other hand
under the bony part of the lower jaw near the chin and lift the chin
Check for breathing: please check close to victim’s mouth and nose. Look at chest to see if it rises and falls. Listen and feel for exhaled air (for at least 5 seconds)
External Cardiac Massage
Breathe: maintain an open airway. Pinch nose. Seal lips around victims mouth and deliver two full breathes watching chest to rise and fall with each breath
Check for circulation: feel for a carotid pulse. Again shout for help/activate EMS system. If pulse is present, continue to give artificial ventilation at the rate of 1 breath or 12 mm
Circulate: if pulse is absent, run fingers along the lower rib to notch in centre of the heart where ribs meet sternum. With middle finger in notch, place index finger on lower end of sternum. Place heel of other hand on lower ½ of sternum next to index finger. Put the heel of 1st hand on top. With shoulders directly over sternum and elbows locked, compress straight up and down 15 minutes, at the rate of 80 – 100 times a minute, using the count “one and two and three and”, etc. return quickly to victims head to deliver two breaths. Compression depth should be 1.5 – 2 inches
Two-rescuer CPR: two medical professional arriving at same time – no
CPR in
Progress
Determine unresponsiveness
Opens the airway
Checks for breathing
Ventilates twice, watching chest movement
Checks for carotid pulse: give command to begin compressions if pulse is
absent
Locates landmark and proper hand position on sternum
Begins chest compressions on command – at rate of 80-100 per minute,
counting “one and two and three and four and five and”
Pauses after each fifth compression to allow for ventilation
Calls for a switch when fatigued. Give clear signal “change and two and
three and four and five”
- Both rescuers change simultaneously
Compression moves to victim’s head. After checking for pulse, give breath
and command to continue compressions
Ventilator moves to chest: finds landmark and properly positions hands, begins compressions on command pausing after each 5th compression for breath
If CPR is in progress by lay person, rescue team enters after completion
of cycle of 15 compressions and 2 ventilations and start with a reassessment
If CPR is in progress by a professional rescuer, the 2nd
professional rescuer takes over compressions at the end of a cycle and after 1st
rescuer reassesses pulse and gives another breath
DO’S AND DONOT’S IN CPR
DO’S
- Reassure victim that help is on the
way - For major injuries call 9-1-1
immediately - Check victim’s status regularly
- Use direct pressure to stop bleeding
- Check to see if victim’s airways are
clear - If no pulse or respiration, start CPR
- To prevent transmission of disease,
use latex gloves - Keep victims in shock warm (use
blanket, etc) - Assume spinal injury when blunt force
trauma is present - Raise head if bleeding in upper torso
area - Raise feet if bleeding in lower torso
areas - Flush all burns and chemical injuries
with clean water - Have MSDS sheets on the jobsite for
9-1-1 responders - Call the Poison Control Center for
chemical ingestion
DON’TS
- Do not move the victim unless
absolutely necessary - Always suspect “spinal injury” (and
don’t move the victim) - Do not set fractures and breaks
(simply immobilize the victim) - Do not apply a tourniquet (use
“direct” pressure to stop bleeding) - Do not remove items imbedded in the
eye (cover with a Dixie cup) - Do not use burn ointments
- Do not hesitate to call 9-1-1
COMPLICATIONS
Cardiopulmonary resuscitation, or CPR, is a technique used to support the circulation of blood and oxygen in the body of a victim who is not breathing and does not have a pulse. CPR is physically invasive for the victim and techniques used during CPR carry risks and the chance of complications. Ultimately, the risk of complications is small and should not deter the use of CPR for a victim in need
Broken bones
Rib fractures are the most common complication of CPR. Chest compressions administered during CPR are given quickly and with enough force to compress the chest about 1 inch in depth. This provides pressure to the ribs, which can be strong enough to cause ribs to fracture. Victims who are elderly, small in stature or children have the highest risk of developing rib fracture during chest compressions. Additionally, the chest bone, or sternum, also endures pressure and stress during chest compressions and can fracture as well
Internal Injuries
Internal
organs lie within the area pressured by chest compressions. As the chest is
compressed during CPR, ribs and chest bones can break, puncturing the lungs and
liver. Additionally, internal bruising of the heart and liver can occur
Vomiting and Aspiration
As chest
compressions are administered, pressure builds inside the body, which can force
stomach contents up the esophagus and result in vomiting. This causes the risk
of aspiration, or absorbing the vomit into the respiratory system. Aspiration is
a serious complication which makes it difficult to provide the victim with
adequate air and can ultimately damage lung tissue or result in infection, like
pneumonia.
Body Fluid Exposure
CPR presents
the risk of exposure to body fluids. It provides mouth-to-mouth rescue
breathing to a victim without use of a mask results in saliva exposure between
victim and rescuer. Blood and vomit may also be present during CPR, which
carries the risk of communicable disease such as hepatitis and AIDS. The
American Heart Association encourages the use of a barrier mask when
administering rescue breathing during CPR for protection against contamination
Gastric Distention
Rescue breathing during CPR provides air directly into the lungs of the victim. If air is delivered too forcefully or for too long a time, the victim can accumulate air build-up in the stomach, called gastric distension. Gastric distension causes the stomach to swell and places pressure on the lungs. CPR efforts can become complicated if gastric distension occurs due to reduced ability to deliver adequate oxygen to the lungs, and can also result in vomiting and aspiration. Gastric distension can often be avoided by proper, careful administration of rescue breathing during CPR

NURSING PROCEDURES LIST CLICK HERE
Discover more from Bibliobazar Digi Books
Subscribe to get the latest posts sent to your email.


